
Silicone Overmolding: Design the Interface Before the Tool
Design silicone overmolded plastic or metal parts around mechanical retention, material compatibility, insert movement, flash, primer/bonding and pull testing.
On this page
# Silicone Overmolding: Design the Interface Before the Tool
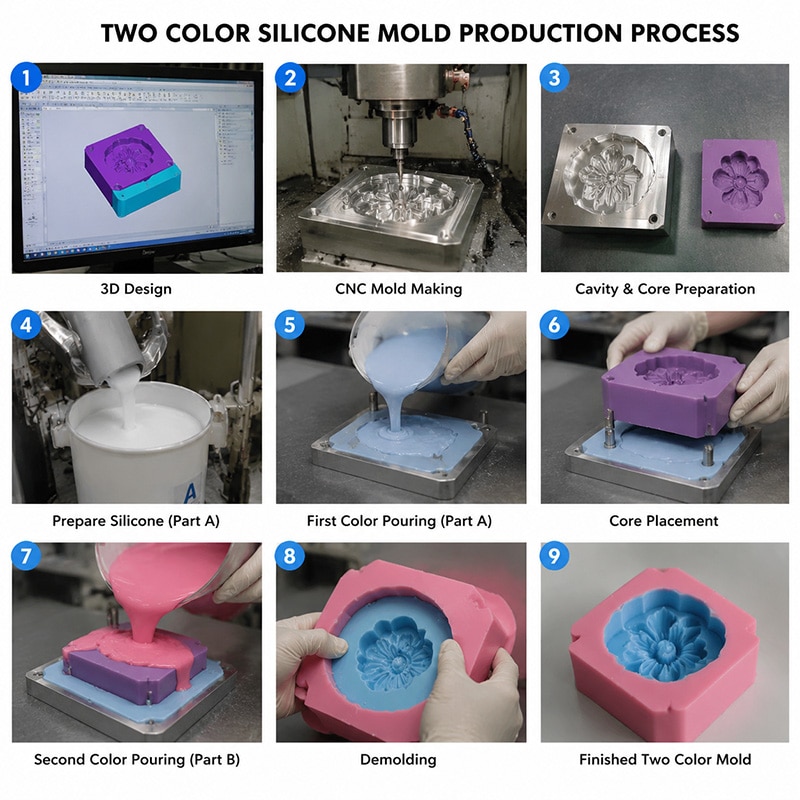
A silicone-overmolded part succeeds or fails at the interface between the flexible silicone and the rigid insert.
The first question is not “Which silicone?” It is how the silicone will stay attached during real use.
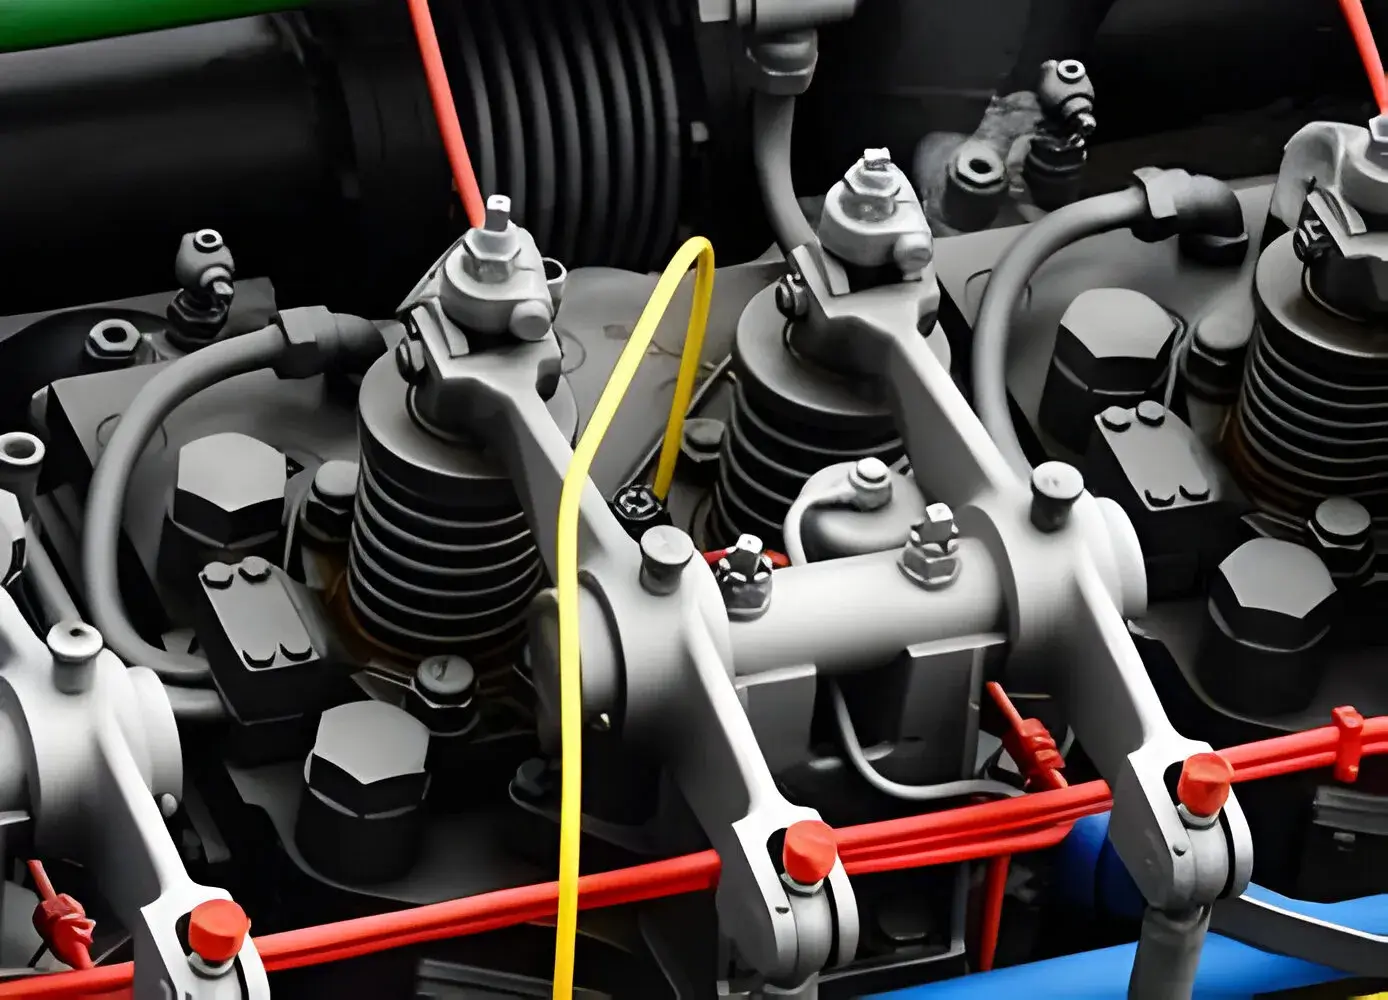
Mechanical Retention vs Chemical Bonding
Possible strategies include:
- through-holes
- undercut grooves
- ribs
- dovetail-style retention
- windows in the insert
- compatible adhesion systems
- primer/surface treatment where validated
Mechanical retention can reduce reliance on chemistry. Chemical bonding may be useful but must be validated for the exact silicone, substrate and process.
Do Not Assume Silicone Bonds to Every Plastic
Plastic family, additives, surface condition and molding process all affect adhesion.
Before tooling, identify:
- substrate resin/grade
- insert supplier
- surface finish
- release agents
- heat sensitivity
- whether primer is allowed
A cosmetic prototype with glue is not proof of production overmold adhesion.
Insert Movement During Molding
The tool must locate the insert accurately.
Review:
- orientation
- datum surfaces
- clamping
- shutoffs
- insert distortion
- trapped air
- silicone pressure around the insert
If the insert shifts, the final silicone thickness and flash can change.
Flash at the Interface
Interface flash can be more important than cosmetic flash elsewhere.
Control:
- shutoff condition
- insert dimensional variation
- tool wear
- parting line
- trim access
Functional Tests
Depending on the product:
- pull test
- peel test
- torque
- repeated flex
- seal test
- thermal cycle
- chemical exposure
Define the acceptance criterion before sample production.
Metal Inserts
For metal, review:
- cleanliness
- corrosion/coating
- sharp edges
- heat transfer
- primer/bonding system
- electrical isolation if relevant
Plastic Inserts
For plastic, consider molding heat/pressure and dimensional stability. A thin insert that distorts can create an overmold that fits poorly even when the silicone is acceptable.
Prototype Strategy
The prototype should use production-intent insert material whenever interface performance matters.
Check:
- insert position
- flash
- silicone coverage
- bond/retention
- functional loading
- cosmetic interface
Mechanical Retention Is Often the Most Predictable Baseline
Through-holes, grooves, edge wraps, ribs and other interlocks can provide physical retention even when chemical bonding is difficult. DFM should make sure those features fill correctly and do not lock the insert into the production tool.
Chemical Bonding Is Material-Specific
Bond performance depends on silicone chemistry, the exact plastic or metal, cleanliness, primer/surface treatment, molding conditions and handling between preparation and molding. “Silicone bonds to plastic” is not a useful specification without the actual substrate.
Insert Position and Functional Testing
Define datums and how the insert is held during molding. Check movement, interface flash and the tolerance stack between rigid and soft features.
Where retention matters, specify an appropriate pull, peel, torque or flex test. “Cannot pull off by hand” is not a controlled acceptance criterion.
Related WYD Pages
Final Recommendation
Choose the interface strategy before tooling. Retention geometry, substrate material and validation test should be part of the design—not a secondary bonding decision after the mold is cut.
Ready to order custom silicone molds?
Send your drawing, sample or project requirements for DFM and quotation.