
Yes, photographs can be enough to begin a feasibility review.
They are usually not enough to define every production dimension.
A useful photo package helps identify the object, visible geometry and likely mold-development scope. Hidden depth, wall thickness, mating clearance and the back side of a three-dimensional object still need measurements, additional views, a physical sample or approved 3D reconstruction.
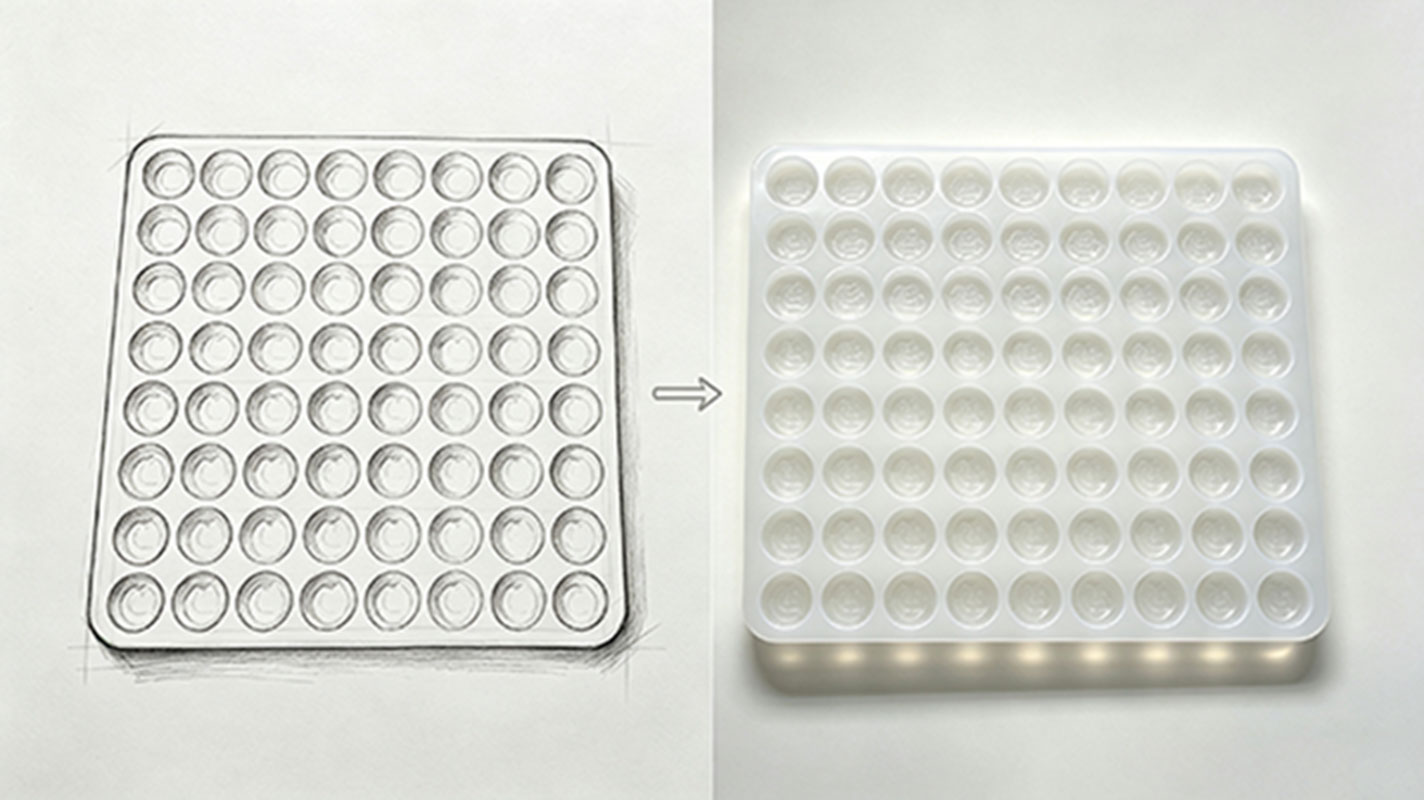
Send Photos That Explain the Shape
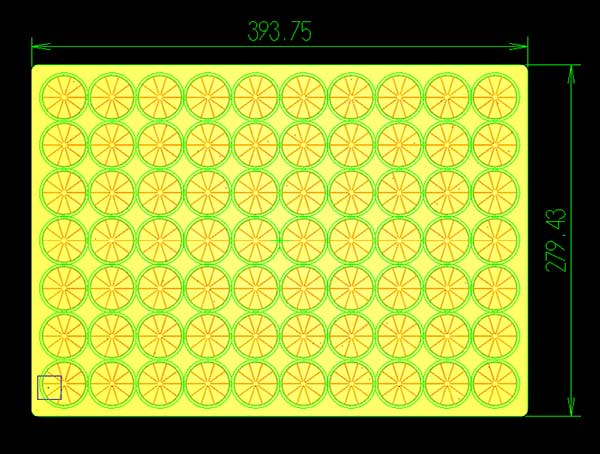
For a three-dimensional object, provide more than one perspective image.
A practical photo set includes:
- front
- back
- left and right
- top
- bottom where relevant
- close-ups of important details.
Use a plain background when possible.
Avoid perspective distortion from an extreme wide-angle lens.
If a logo, texture, lip, groove, undercut or internal feature matters, photograph that feature separately.
The goal is not presentation photography. The goal is geometric evidence.
Add Verified Dimensions
A photograph without scale can show proportion but not reliable size.
Provide known dimensions such as:
- overall length
- overall width
- height
- thickness
- hole or opening diameter
- spacing
- cavity depth.
If the dimensions are approximate, label them approximate.
For an initial inquiry, a ruler or caliper shown in the photo can help explain scale. For controlled production geometry, the final dimensions should be recorded separately rather than estimated from perspective.
Explain What the Finished Object Must Do
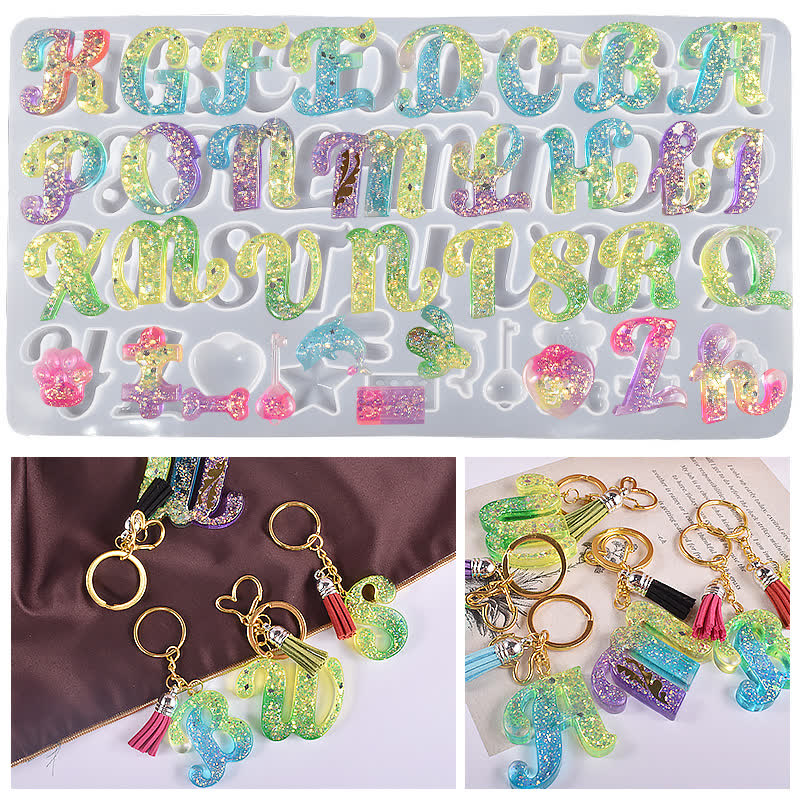
Shape alone is not enough.
Tell the supplier whether the finished mold or silicone part must:
- fit another object
- reproduce a surface
- release a rigid casting
- hold a filled load
- locate around an edge
- preserve a logo
- create a specific finished size.
That functional note helps distinguish a cosmetic feature from a critical interface.
For example, an internal skirt on a lid may exist to prevent sideways movement. A photograph can show the skirt, but the mating rim or real base may be needed to define its final fit.
Know When Photos Are Not Enough
A physical sample or additional reference is safer when:
- hidden geometry matters
- the part fits another component
- internal features are important
- wall thickness cannot be seen
- the object is flexible or distorted
- the back side is unknown
- a worn sample must be corrected rather than copied.
For fit-sensitive parts, use the Reverse Engineering Silicone Parts page to define the reconstruction work.
Artwork Can Define Styling, Not Missing Geometry
A 2D illustration or front-view artwork can be a valid starting reference for a decorative project.
But a front view does not define:
- the side profile
- the back
- relief depth
- hidden undercuts
- fragile three-dimensional details.
Those elements must be designed.
When geometry is created from artwork or photographs, approve the 3D model before the master or tooling is made. This separates customer-approved design decisions from assumptions made during production.
Do Not Invent the Missing Side of the Product
If the reference package does not define an important feature, mark it as an open question.
Useful open questions might include:
- Is the back flat or fully sculpted?
- Is this groove functional or decorative?
- How deep should the logo be?
- Does the finished object need to fit packaging?
- Is the existing sample worn?
- Which dimension is the buyer's true reference?
This is safer than filling gaps with plausible-looking geometry.
If the geometry exists but needs a manufacturability review, move to Silicone DFM & CAD Engineering.
What to Send
Send:
- multi-angle photographs
- one or more verified dimensions
- vector artwork where relevant
- a sketch or drawing if available
- the physical sample if available
- the mating component if fit matters
- finished size
- intended use
- expected quantity.
That package is usually enough to identify what is already defined and what still needs confirmation before tooling.
Main CTA: Send Photos or Sample Details
Send a project for review
Send the file or sample, the function, and the quantity.