
Silicone Mold Troubleshooting: Find the Root Cause Before Replacing the Mold
Troubleshoot sticking, bubbles, weight variation, blurry detail, warping and mold tears by separating tooling defects from formula and process causes.
On this page
When a silicone mold starts producing bad parts, replacing the mold immediately can waste time and hide the real cause. Sticking, bubbles, blurry detail, weight variation, warping and tears can come from the mold—but they can also come from the material being poured, the filling process, temperature, cleaning or operator technique.
The fastest troubleshooting method is to separate the problem into three groups:
- tooling/mold condition;
- formula or casting material;
- process and handling.
Then change one variable at a time.
Problem 1: product sticks in the cavity

Sticking can be caused by:
- damaged or contaminated cavity surface;
- insufficient draft;
- deep undercuts;
- product demolded too early;
- formula too soft or tacky at release;
- residue from previous production;
- incompatible cleaner or release treatment.
Before blaming the silicone, compare a clean cavity with a problematic one. If the same formula releases well from one cavity but not another, inspect that cavity for scratches, swelling or contamination. If every cavity starts sticking at the same time, investigate the formulation and process first.
For gummies, pectin and gelatin systems can behave differently. For resin or wax casting, chemistry and cure temperature can change release significantly.
Problem 2: bubbles appear on the molded surface
Bubbles can originate from the poured material rather than the mold.
Common causes include:
- air incorporated during mixing;
- high viscosity trapping air;
- pouring too quickly;
- wet or contaminated cavity surfaces;
- gas generated during cure;
- vacuum or pressure process not matched to the material.
If bubbles consistently appear at the same physical location on every part, inspect the mold geometry and venting. If they move randomly between cavities, the material or filling process is more likely.
A useful diagnostic is to fill one cavity slowly under controlled conditions and compare it with normal production. Do not alter five settings at once.
Problem 3: gummy or cast weight varies between cavities
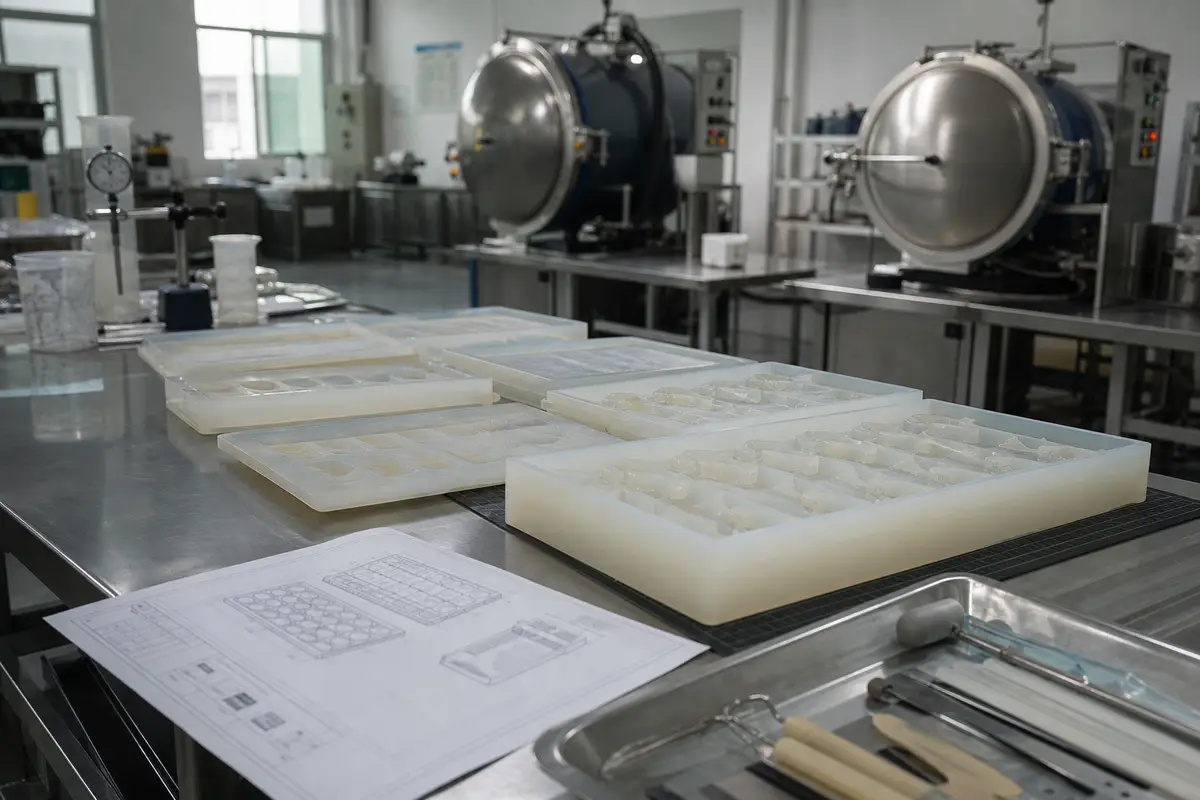
A common assumption is that cavity variation means the mold was made incorrectly. Sometimes that is true—but first check:
- is the tray fully supported and level during filling?
- is the depositor calibrated?
- is the formula density stable?
- are all cavities filled to the same level?
- is product lost during transfer?
- are the cavities actually dimensionally different?
For a flexible tray, measurement should be performed in an agreed support condition. A large unsupported silicone sheet can change shape under its own weight.
If cavity geometry is suspected, measure a sample across corner, center and edge locations instead of checking only one cavity.
Problem 4: logos or details look blurry
Detail loss may come from:
- master/tooling detail that was already too shallow;
- worn or damaged cavity texture;
- product not fully filling the feature;
- air trapped in fine geometry;
- formula too viscous;
- release deformation;
- design lines too small for the molded material.
The key question is whether the detail exists in the empty mold. If the cavity is sharp but the product is not, focus on filling, venting and material behavior. If the cavity itself is rounded, the issue is tooling or wear.
Problem 5: the silicone tray warps or sags
Warping can appear during hot use, filling or storage.
Typical causes include:
- base too thin for tray size;
- weak web structure;
- insufficient perimeter reinforcement;
- heavy product load;
- unsupported transfer while hot;
- permanent deformation from folded storage.
Changing to harder silicone can help in some cases, but structural changes are often more effective. A rigid support carrier may solve a large-tray problem without making demolding excessively stiff.
Problem 6: silicone tears at corners or undercuts
Tears usually begin at stress concentrators.
Inspect:
- sharp internal corners;
- narrow silicone “fingers” between deep features;
- severe undercuts;
- cuts from knives or cleaning tools;
- aggressive demolding direction;
- insufficient tear strength for the geometry.
If damage always begins at the same feature, redesign the local geometry. A small radius or reduced undercut can add more life than simply increasing Shore hardness.
Problem 7: the mold has odor or transfers taste
For food-contact tools, investigate the exact material and post-processing history.
Possible causes include:
- incorrect silicone grade;
- insufficient post-cure where the selected material/process requires it;
- contamination during production or storage;
- aggressive cleaning chemicals;
- absorption of strongly flavored production material.
Do not solve odor complaints by making broad claims such as “all platinum silicone is odorless.” Review the compound, cure and cleaning process.
Problem 8: the mold surface becomes cloudy, sticky or rough
Surface change can come from chemical exposure, abrasion, residue or aging.
Check the sanitation process first. Strong cleaners, abrasive pads and scraping can change the surface long before the silicone body fails.
For resin or industrial casting, confirm chemical compatibility. A mold that is excellent for plaster may not have the same service life with an aggressive resin system.
How to determine whether the mold should be replaced
Replacement is justified when:
- cavities are permanently torn;
- geometry is distorted;
- surface damage transfers unacceptable defects;
- dimensions no longer meet the agreed requirement;
- cleaning cannot restore the cavity safely;
- repeated repair creates more process variation than a replacement tool.
Do not use yellowing alone as an automatic reject criterion unless color change is linked to a functional or hygiene concern. Appearance, elasticity, cracking and actual production performance should be considered together.
Root-cause worksheet
Record these items before contacting the supplier:
- mold revision and production date;
- material/casting formula lot;
- operating temperature;
- cleaning method;
- first date the defect appeared;
- whether the defect is random or cavity-specific;
- photos of empty mold and finished product;
- cavity numbers affected;
- any recent process change.
This turns “the mold is bad” into an engineering problem that can be solved.
FAQ
Why did my silicone mold suddenly start sticking?
If all cavities changed at once, check formula, temperature, cleaning and demold timing. If only one cavity changed, inspect that cavity for damage or contamination.
Can a torn silicone mold be repaired?
Minor damage can sometimes be repaired for temporary use, but the repair may change the cavity surface or dimensions. Production-critical molds are often safer to replace.
Why do bubbles form only at the bottom of my casting?
Air may be trapped at the mold-material interface, especially with viscous pours. Review mixing, pour method, mold wetting and cure chemistry before assuming the mold material is defective.
Does yellow silicone mean the mold has expired?
Not by itself. Evaluate flexibility, cracks, surface condition and production performance. Color change can be cosmetic or process-related.
Need help diagnosing a failed mold?
Send photos of the empty mold, defective parts and process conditions through WYD Contact. If the problem is design-related, we can review whether the next revision needs a change in material, wall structure, cavity geometry or handling method.
Ready to order custom silicone molds?
Send your drawing, sample or project requirements for DFM and quotation.