
Prototype Approval Checklist for Custom Silicone Molds
Approve a custom silicone mold prototype by checking the CTQs that matter: fit, dimensions, cavity output, demolding, surface, equipment compatibility, material and documentation.
On this page
A prototype should not be approved because it "looks good."
It should be approved because it proves the specific risks that matter before repeat production.
For one project, that may be cavity weight. For another, it may be demolding a fragile plaster figure. A popsicle tray may need a real freeze cycle. A soap mold may need to stay stable when filled. A resin mold may need a split line that releases without tearing either the casting or the silicone.
The best approval checklist therefore starts with the drawing, application and intended production process-not with universal tolerance numbers.
1. Write the Acceptance Criteria Before Testing
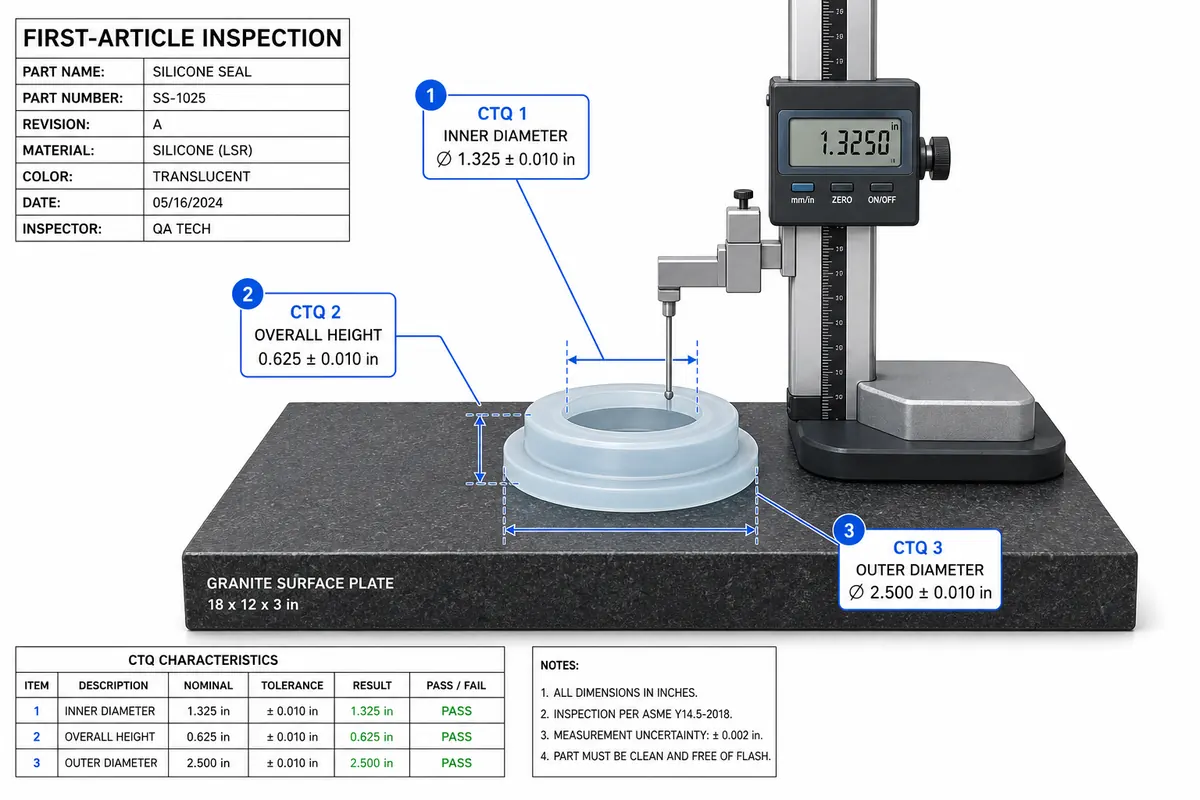
Before the prototype arrives, identify:
- what the mold is supposed to produce
- critical dimensions
- target piece weight/volume if relevant
- required fit with equipment or support
- surface/logo requirement
- mold material/hardness requirement if specified
- actual casting/fill material
- demolding method
- documentation requirement
- failure modes that would stop production.
Classify requirements as:
Critical-to-function
Failure makes the mold unusable.
Examples:
- wrong depositor pitch
- wrong mating dimension
- leak
- stick slot tears
- casting cannot demold.
Important but adjustable
May require correction before production.
Examples:
- logo depth
- cosmetic texture
- minor edge location.
Cosmetic/reference
Used to compare appearance against an approved sample.
Do not assign the same tolerance and inspection frequency to every feature.
2. Confirm You Are Testing the Correct Revision
Before measuring anything, verify:
- CAD/drawing revision
- prototype identification
- tool/master revision
- material/compound
- color
- cavity count/layout
- any approved engineering changes.
A technically perfect sample can still be the wrong sample if it was made from the wrong revision.
Record the revision used during approval.
For projects with several similar designs, label samples so later teams do not confuse an EVT part with the production reference.
3. Check Dimensions Using a Repeatable Method
Flexible silicone can deform during measurement.
Before rejecting a dimension, define:
- datum
- rest condition
- fixture/support
- measurement tool
- measurement force where relevant
- temperature/conditioning if required
- how many cavities/locations are checked.
Do not use one universal tolerance
The tolerance should come from:
- product function
- mating interface
- drawing
- equipment requirement
- agreed DFM.
A flexible outside wall may not need the same control as a cavity pitch that must align with a depositor.
For large trays, flatness should also be evaluated in the condition that matters-for example supported or loaded-rather than measured using an arbitrary universal number.
4. Test the Actual Output
The mold is a manufacturing tool. Test what it produces.
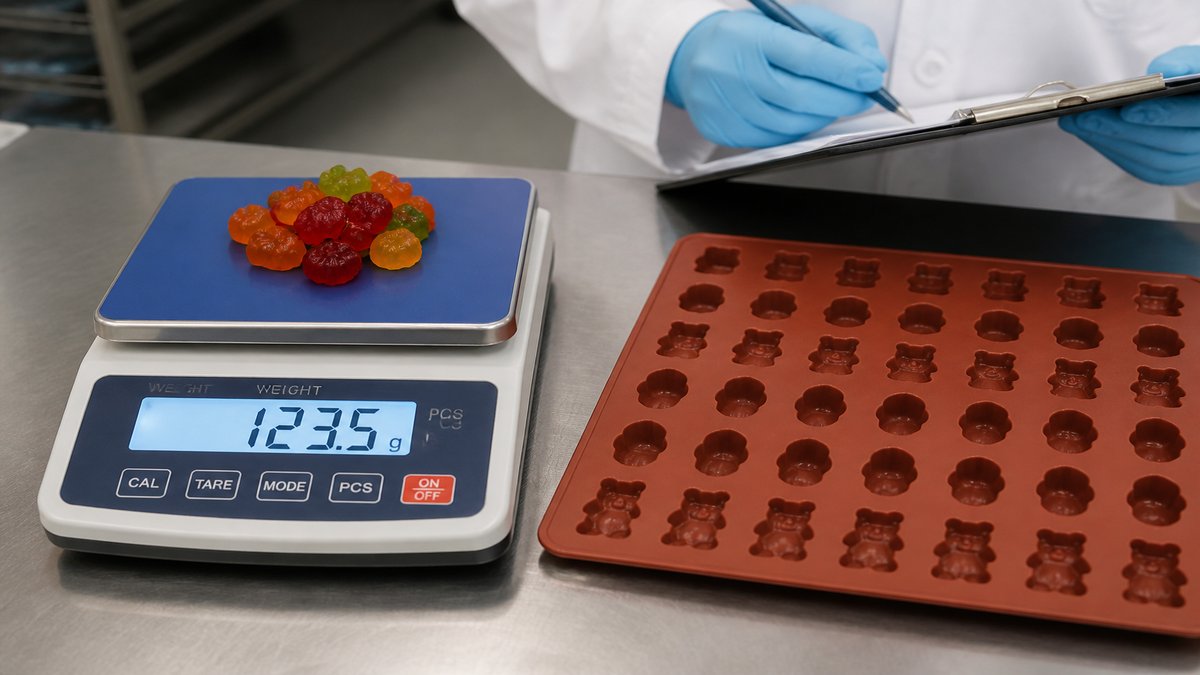
Food / gummy / chocolate
Check:
- fill
- target weight/volume
- release
- logo/detail
- cavity consistency
- tray handling.
Popsicle / ice
Check:
- real freeze cycle
- frozen release
- stick retention/alignment
- tray stability
- visual detail.
Resin
Check:
- fill and vents
- surface
- release
- seams
- casting damage
- mold recovery.
Soap
Check:
- filled tray/loaf stability
- finished bar dimensions
- logo
- demolding
- packaging fit if relevant.
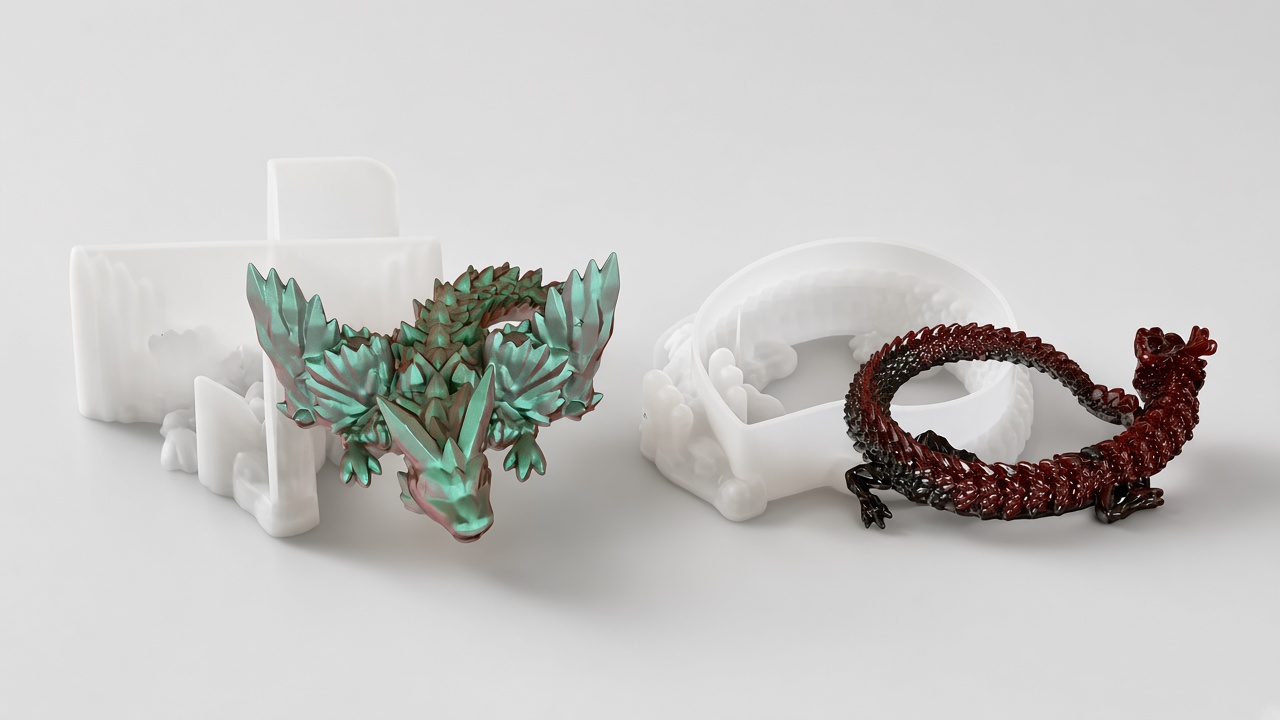
Plaster
Check:
- fill
- air escape
- thin-detail survival
- parting line
- release.
Do not approve an empty mold when the critical failure only appears after casting.
5. Evaluate Demolding as a Process
Demolding should be repeatable, not a one-time demonstration.
Observe:
- where the operator starts the peel
- how much the mold must stretch
- where stress concentrates
- whether the casting bends/breaks
- whether the silicone tears
- whether release changes after several test cycles
- whether a release agent is being used to hide a geometry problem.
If a product only releases after excessive pulling, the design may not be production-ready.
For split molds, also check registration after repeated opening/closing.
6. Check Equipment and Workflow Compatibility
For production trays, confirm the mold works with the actual environment.
Examples:
- depositor/nozzle pitch
- rack dimensions
- oven pan
- freezer shelf
- support frame
- conveyor/nest
- packaging fixture
- worktable and operator handling.
A prototype can pass dimensional inspection and still fail production because the tray does not fit the equipment or becomes difficult to carry when full.
Include real equipment compatibility in approval when it is a CTQ.
7. Inspect Surface, Logo and Parting Lines
Compare against the approved requirement.
Check:
- cavity surface
- texture
- logo/text readability
- unwanted master/print lines
- parting line
- flash/trim
- bubbles/voids in the silicone
- damage from demolding.
For cosmetic decisions, use a physical approved sample or clearly defined standard where possible.
Do not invent a numerical gloss or flash limit unless the project specification defines one.
8. Verify Material and Documentation Scope
Confirm:
- material/compound reference
- hardness specification if required
- color reference
- requested material documents
- food-contact or other application-specific documentation
- any lot/batch information required.
Documentation should match the selected material and project.
A general factory certificate does not replace project-specific material evidence.
If a final product needs third-party testing, distinguish:
- supplier/material documents
- prototype validation
- finished-article test required by the buyer/market.
9. Record Failures Clearly
If the prototype fails, do not send "not good."
Document:
- failed requirement
- cavity/location
- photo/video
- measurement/result
- expected result
- test condition
- whether failure is geometry, material, tooling, process or unknown.
Examples:
"Logo is bad."
"Letter R tears during demolding at the lower serif in 3 of 5 test casts; actual resin and cure schedule attached."
"Tray is too soft."
"When fully loaded, the unsupported center drops enough that cavities no longer align with the filling fixture; support-frame photo attached."
Specific feedback reduces unnecessary redesign.
10. Decide: Approve, Approve With Correction, or Revise
Approve
Use when all critical requirements pass and remaining cosmetic/reference items are accepted.
Freeze:
- drawing/CAD revision
- material
- tool/master revision
- approval sample
- CTQ plan.
Approve with agreed minor correction
Use only if the correction is understood and does not require a new functional validation.
Document what changes and who approves it.
Revise and re-test
Use when the failure affects:
- fit
- release
- target output
- equipment compatibility
- structural stability
- material/documentation requirement
- another CTQ.
Do not release repeat production based on the assumption that "production pieces will be better" unless the process difference genuinely explains the issue and is validated.
Prototype Approval Record
A simple record can include:
Date tested:
3.
Equipment/support used:
Results:
- Dimensions:
- Output/weight:
- Demolding:
- Surface/logo:
- Equipment fit:
- Material/documentation:
- Other functional test:
[ ] Revise and re-test
```
The checklist should be adapted to the project. It is not a universal specification.
Before Production, Confirm the Reference Is Frozen
After approval, production should reference the approved:
- design revision
- tooling/master revision
- material
- color
- critical dimensions
- functional test
- cosmetic sample where relevant
- packaging
- documentation requirement.
This reduces the risk of a reorder using a different file or condition.
For factory-side QC after approval, see Silicone Quality Control.
For project-specific mold development, use Custom Silicone Mold Manufacturer.
Ready to order custom silicone molds?
Send your drawing, sample or project requirements for DFM and quotation.