
Custom Silicone Gummy Mold Design Guide for Production Teams
Design custom gummy molds around target piece weight, formula density, cavity volume, demolding, tray stiffness, cavity pitch and depositor constraints.
On this page
A production gummy mold should be designed around the finished gummy and the depositing process—not around a pretty cavity count.
The most common design mistake is to start with a tray size and ask how many shapes can fit. A better sequence is:
target gummy → formula/process → cavity geometry → pitch/layout → tray stiffness → prototype validation
That sequence is what turns a custom mold into a usable production tool.
Start With Target Piece Weight
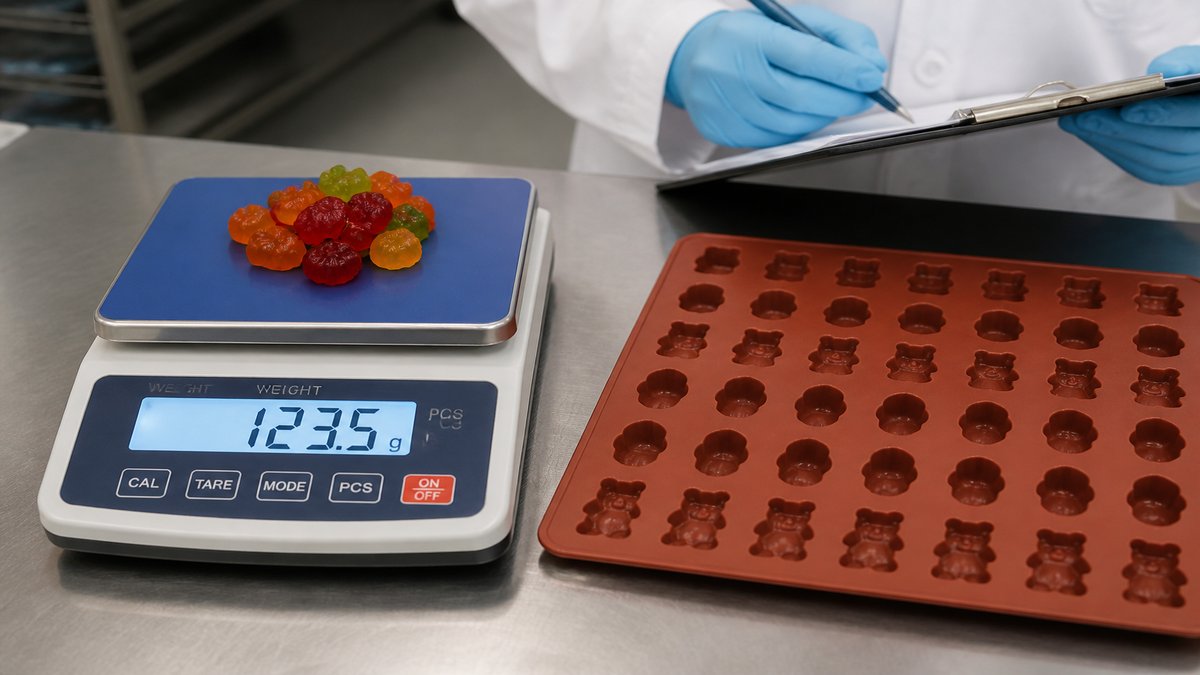
If a gummy must finish at a specific weight, geometry alone is not enough.
A cavity can provide a controlled volume, but final weight depends on the real formulation and process. Pectin, gelatin and other systems can have different densities and filling behavior.
A practical development path is:
- define target grams per piece
- define the formula family
- estimate cavity volume from the initial density assumption
- create CAD
- sample the cavity
- fill with the real formulation
- measure actual piece weight
- adjust the cavity if needed
Do not approve a production tray from “volume = grams” unless the actual formula supports that assumption.
Cavity Geometry and Demolding
The gummy must release without excessive stretching or tearing.
Review:
- draft
- edge radii
- narrow necks
- deep logos
- thin protrusions
- reverse features
- cavity depth
- release direction
A very detailed 3D character may look excellent in renderings and still be a poor production cavity if operators have to peel the gummy through a narrow opening.
Logo and Text
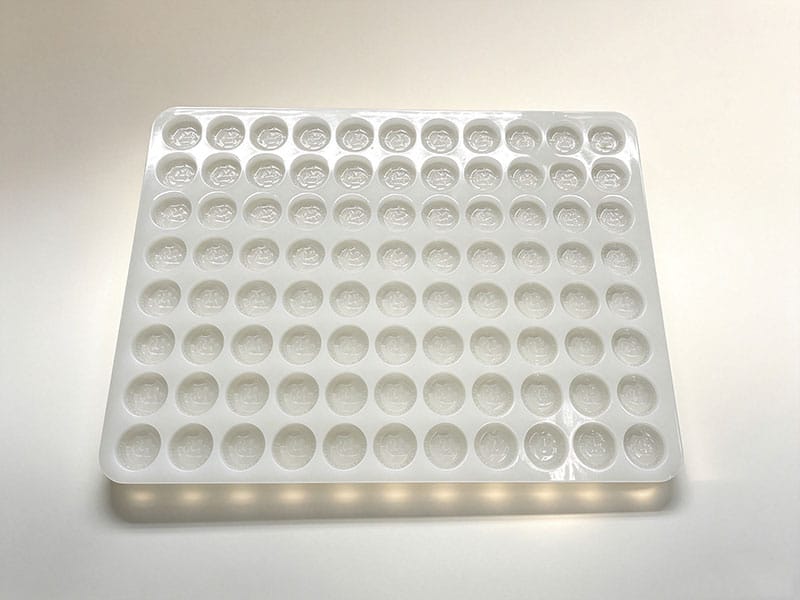
Small logos should be reviewed as molding geometry, not only artwork.
Important factors:
- line width
- depth
- draft
- positive vs negative lettering
- orientation
- distance from fragile edges
A shallow, clean feature may read better than a deep logo that damages the gummy during release.
Cavity Count Is a Throughput Decision
Cavity count should follow production needs.
Ask:
- pieces required per batch
- depositor output
- curing/drying time
- available tray area
- rack dimensions
- operator handling limits
- wash/cleaning capacity
More cavities are not always better. A very large tray may sag, become difficult to move, or fail to match the depositor.
Depositor Pitch and Tray Envelope
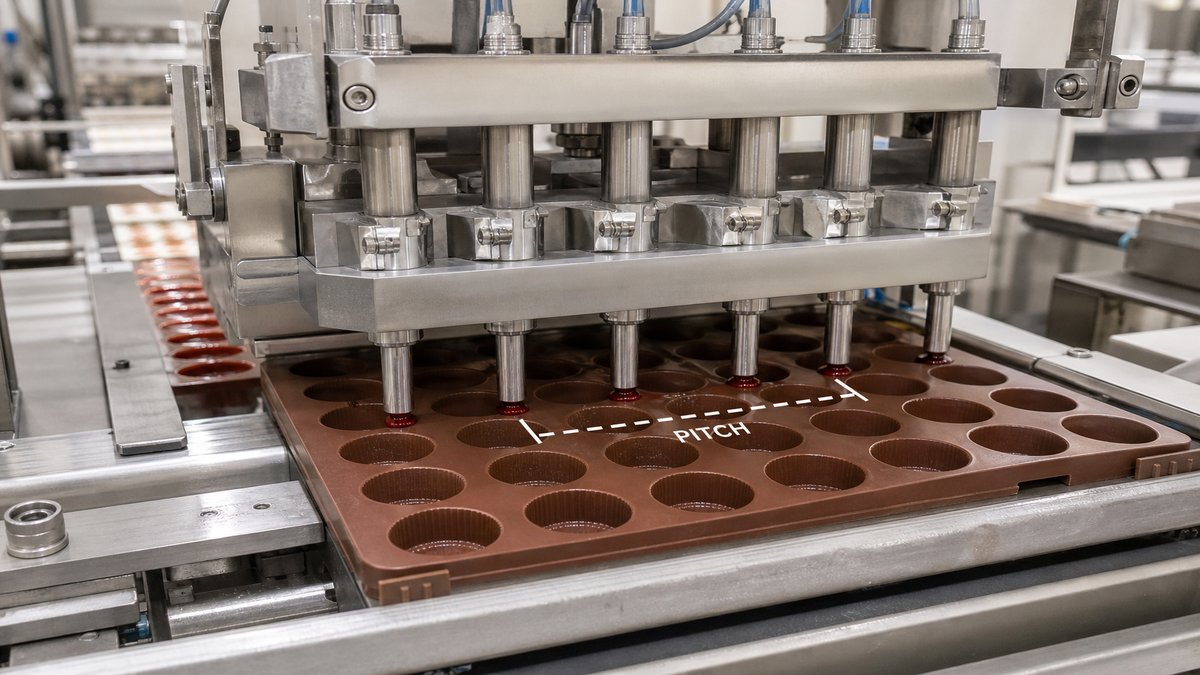
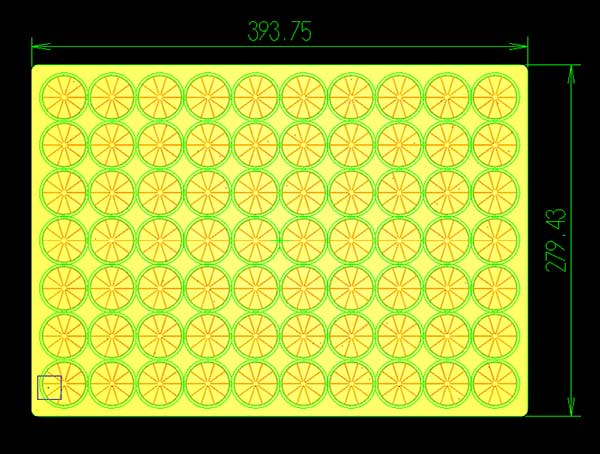
If the customer uses an existing depositor, the tray should be designed from the machine constraints.
Useful data include:
- nozzle count
- nozzle pitch
- X/Y reference positions
- maximum tray width and length
- indexing direction
- locating features
- acceptable edge margin
Do not create a visually dense cavity grid and hope it matches the line later.
Tray Stiffness
A gummy tray must flex enough for release while remaining manageable during filling and transport.
Stiffness depends on:
- Shore A
- wall thickness
- cavity depth
- tray span
- outer flange
- ribs
- cavity spacing
For large trays, the loaded condition is important. A tray full of hot or warm gummy mass can behave differently from the empty sample.
Pectin vs Gelatin
The mold is not the only variable in release.
Gummy release can be affected by:
- formula
- solids level
- cooking process
- deposit temperature
- cure/dry time
- surface treatment if any
- demolding timing
A mold supplier should not promise that geometry alone will solve every sticking problem.
Prototype Validation Checklist
Before production, validate:
- actual gummy weight
- cavity fill
- logo/detail
- demolding
- tray flatness
- loaded handling
- cavity pitch
- depositor fit
- cleaning
- operator speed
For a new formula or new tray format, the prototype should be used to learn—not just to confirm that a silicone object was made.
What to Send WYD
- target gummy dimensions
- target grams
- pectin, gelatin or other formula family
- cavity count or daily output target
- maximum tray size
- depositor data if used
- 3D file or artwork
- target first order
- repeat volume
- food-contact documentation requirement
Related Pages
- Custom Silicone Gummy Molds
- Silicone Materials & Compliance
- Silicone DFM & CAD Review
- Silicone Quality Control
- Contact WYD
FAQ
How do I calculate cavity volume from target gummy weight?
Use the actual formulation density as the starting point, then validate the result with a real sample. Do not assume every gummy formula has the same density.
How many cavities should a tray have?
Enough to support the required batch volume while remaining compatible with the depositor, rack, tray envelope and operator handling.
Can you design from a logo?
Yes. Vector artwork is preferred, but the logo still needs to be converted into demoldable geometry.
Is a softer silicone always easier to demold?
No. Demolding depends on hardness, wall thickness, cavity geometry and tear risk together.
Send Your Gummy Mold Requirements
Send target grams, formula family, cavity shape, tray envelope and depositor information. Those inputs are more useful than simply asking for “a 100-cavity silicone mold.”
Ready to order custom silicone molds?
Send your drawing, sample or project requirements for DFM and quotation.