
A resin mold should be designed around how the resin fills, cures and leaves the cavity.
A custom resin-mold project can start from STEP/STP or STL files, drawings, physical masters, samples, artwork or an approved 3D model. Depending on geometry, the mold may be open, slit, split into multiple parts, or use a flexible silicone skin with a rigid support shell.
The first engineering question is not “What Shore hardness do you use?” It is:
> What is the release path, and what must stay dimensionally stable while the resin cures and demolds?
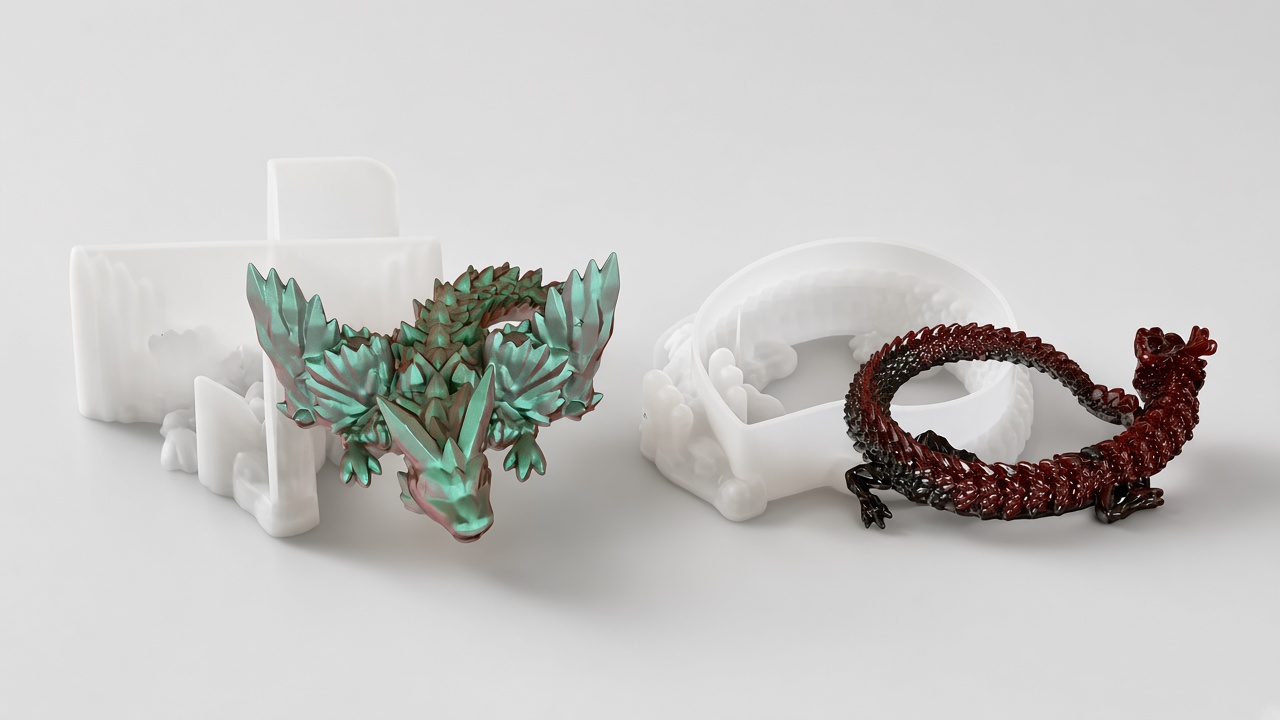
Start With the Actual Resin System

“Resin” covers very different materials.
Before material selection, tell us what you plan to cast:
- epoxy
- polyurethane
- UV-curing resin
- filled or pigmented resin
- other casting material.
Useful supporting information can include:
- product name or chemistry family
- TDS/SDS if available
- cure schedule
- working time
- maximum exotherm if known
- casting size and mass
- expected casting frequency
- desired surface finish
- whether the resin contains fillers, metallic powders or abrasive additives.
Why does this matter?
A small jewelry casting and a thick decorative block create different thermal and mechanical demands. A resin that cures slowly with low heat can behave differently from a fast system that generates a stronger exotherm. Filled systems may also increase abrasion.
The mold material and structure should therefore be reviewed with the actual casting system rather than selected from one universal resin-mold recipe.
Specify the casting resin, additives and intended curing process before selecting the silicone. Making a mold from a resin-printed master and casting resin into a finished silicone mold are different compatibility checks. Review the master preparation and selected material data, then confirm the proposed combination with a trial.
UV-resin suitability must be checked for the specified resin, mold geometry and light access. Share the resin product and its curing instructions so the proposed mold can be reviewed and trialed under those conditions.
Choose the Mold Structure From the Release Path
One-piece open mold
A one-piece open mold can be appropriate for:
- flat-back pieces
- coasters
- simple trays
- shallow relief
- shapes that release in one direction without strong locking undercuts.
This is usually the simplest structure to fill, clean and inspect.
Slit or peel mold
A controlled slit can help a flexible mold open around a more three-dimensional part while limiting visible seam lines.
The slit location should be planned. A random cut after the mold is made can create poor registration, premature tearing or an unacceptable seam on the finished casting.
Two-part or multi-part mold
A split mold may be required when:
- the object is full 3D
- opposing undercuts prevent a one-direction release
- there is a deep return feature
- vents or controlled fill channels are needed
- the parting line must be intentionally placed.
Registration keys help the mold halves return to the approved position.
Silicone skin with mother mold / support shell
Large or highly flexible molds can distort under resin weight or during handling.
A rigid support shell can help maintain:
- overall shape
- split alignment
- flange position
- cavity orientation.
The support shell is not the master pattern. The master pattern is the positive object used to create the cavity. The mother mold / support shell is the rigid structure outside the flexible silicone mold.
The Master Pattern Controls Surface Quality

RTV silicone reproduces surface detail closely.
That means the master should be treated as a production reference, not as a temporary object that can be “fixed later.”
Inspect the master for:
- 3D-print layer lines
- sanding marks
- scratches
- pits
- unwanted texture
- distorted edges
- incorrect dimensions
- unfinished lettering or logo detail.
If the master contains a defect, the silicone cavity may reproduce it.
If you already have a physical object
The object may be:
- used directly as a master where appropriate
- measured and rebuilt in CAD
- scanned
- repaired before replication.
If the sample is worn, damaged or handmade, first decide whether the goal is to copy the sample exactly or reconstruct the intended nominal geometry.
If you only have images or artwork
A project can still start, but the 3D geometry must be developed and approved before the master is produced.
Provide:
- front, side and back views where possible
- one known dimension
- close-ups of important surface detail
- desired final size
- whether the back is flat or full 3D.
Resin Mold DFM Is About Both the Casting and the Silicone
A resin casting can fail during demolding even when the silicone mold survives. Conversely, a rigid resin part can be acceptable while the mold tears repeatedly.
DFM therefore reviews both objects.
Undercuts
Undercuts can be useful because flexible silicone can deform during release, but an aggressive undercut can:
- concentrate tear stress
- damage a thin silicone feature
- break a fragile resin detail
- force the operator to over-stretch the mold.
The design should have a realistic release path.
Fragile resin details
Thin fingers, spikes, serif lettering or narrow decorative elements may break during demolding.
Sometimes the better solution is not a softer mold. The resin geometry itself may need a radius, thicker section or different split.
Thin silicone zones
A sharp master feature can create a very thin silicone wall around it. That zone may become the first place to tear.
Split-line location
Place seams where:
- the finished casting can tolerate them
- the mold can open naturally
- cleanup is practical.
Fill and vent access
Closed or split molds need a practical way for resin to enter and displaced air to escape.
Do Not Apply One Universal Shrinkage Number

Dimensional allowance depends on more than the phrase “silicone shrinkage.”
Potential contributors include:
- master-making method
- selected silicone compound
- cure system
- mold geometry
- resin cure behavior
- the way the mold is supported
- measurement method.
For critical dimensions, validate the actual prototype and production method rather than applying a generic percentage copied from another project.
If the finished resin part must fit another component, provide that mating requirement before the mold geometry is frozen.
Material Selection: Flexibility, Tear Risk and Support Work Together
A softer mold can make demolding easier, but too much flexibility may reduce support on large or deep castings.
A firmer mold can improve handling in some geometries but may increase demolding force around strong undercuts.
Material selection therefore needs to consider:
- casting size
- cavity depth
- undercuts
- silicone wall thickness
- expected demolding force
- support-shell design
- resin chemistry
- cure temperature/exotherm
- repeated use and cleaning.
Do not solve every structural problem by changing Shore hardness.
For a large mold, local wall structure or a support shell can be more effective than making the entire silicone body harder.
Tools used for resin casting should be kept separate from food-contact molds. A food version of the shape requires dedicated tooling and a review of the selected material, intended use and available documentation. See the silicone material and documentation review.
Prototype With the Real Resin Where Practical
An empty silicone mold can look perfect and still fail in use.
A meaningful prototype should answer questions such as:
- Does the resin fill the intended detail?
- Are air traps or vents acceptable?
- Can the cured casting be removed without damage?
- Does the mold return to shape after demolding?
- Does a large cavity remain supported while full?
- Is the parting line acceptable on the finished casting?
- Is the surface finish correct?
- Do fragile details survive release?
- Does the actual resin appear compatible with the selected mold material and process?
Where practical, use the customer's actual resin or a representative material during validation.
Do not approve a resin mold only from CAD screenshots or photographs of an empty mold.
Related guide: Prototype Approval Checklist
Resin Mold Engineering Example
The epoxy RTV size-family review shows how paired inner and outer STEP files, cavity height and finish options help define a quotation. Read the resin mold engineering example for the published drawings and scope. The record is an engineering and quotation example, rather than confirmation that every design in the family entered production.
One Mold or Multiple Cavities?
Multi-cavity resin molds can improve throughput, but more cavities also increase:
- total filled weight
- tray span
- handling difficulty
- silicone usage
- support requirement
- consequences of one damaged cavity.
Ask:
- How much resin can the operator mix and pour within the working time?
- Can all cavities be filled before the resin begins to change viscosity?
- Can the full tray be moved safely?
- Do the castings need identical orientation?
- Would several smaller molds be easier to handle than one large mold?
Cavity count should follow the actual production workflow, not only the desire to maximize pieces per mold.
What Changes Cost and Lead Time
Resin-mold quotations can include:
- 3D development or reverse engineering
- master pattern
- manual master finishing
- mold-box/split planning
- silicone material
- registration keys
- vents or fill features
- removable cores
- rigid support shell
- prototype/test casting
- repeat mold production
- packaging and freight.
A simple open coaster mold and a large multi-part sculpture mold should not be expected to have the same cost structure or timeline.
Exact timing is confirmed after the geometry, mold structure and validation scope are known.
Prototype preparation: typically 3-5 business days for suitable projects after CAD approval and confirmation of the development scope. Shipping is additional. Complex projects are scheduled separately.
What to Send for a Resin Mold Quote
Design
- STEP/STP/STL if available
- drawing, sample, artwork or reference images
- finished casting dimensions
- critical surface/detail.
Resin/process
- resin type or product name
- TDS/SDS if available
- cure schedule or working time
- exotherm information if known
- desired surface finish.
Mold
- cavities per mold, kept separate from the number of molds
- one-piece/split preference if already defined
- expected casting frequency
- support shell requirement if known.
Commercial
- prototype quantity
- repeat quantity
- destination
- target date.
If the mold structure is not known, do not guess. Send the geometry and casting process; structure can be reviewed before quoting.
Minimum Order
Production quantity: from 20 molds per approved design for applicable soft-mold projects. Prototype quantities are confirmed separately. This is not a fixed MOQ for every LSR or industrial job.
Tooling, material, validation and freight remain project-specific.
Send a project for review
Send the finished casting dimensions, shape file or master reference, casting resin and planned curing conditions. Include the required finish, cavities per mold and number of molds for the first order. Mark open questions about support, parting lines or trial casting so the quotation can identify what must be confirmed before production.